In our classroom we listened to the dilightful conversation in the short story, "Our Good Day," from The House on Mango Street by Sandra Cisneros. We looked inside The Sign of the Beaver by Elizabeth George Speare and read the dialogue and examine the punctuation and paragraphing:
We took notes and wrote exampes in our notebooks.
Next we practiced adding conversations between characters in our own writing, an example of which would be placed in our interactive notebooks.
Some students creatively wrote in their notebooks:
If you need a reminder about writing dialogue, here is an excellent resource from ReadWriteThink: Dialogue Tags.
Adding dialogue to your writing draws your reader in to become part of your conversation, making your writing real!
If you'd like, you could add one of your character conversations in the comments.
Reminder: This is a school related site so please respect others and comment appropriately. Please contact Ms Edwards if you have any questions or need to report any inappropriate activity. Thank you.
Reflect Curiosity and Wonder... Go boldly and scatter seeds of kindness...
Photo Credit: Create Your Own Picasso at PicassoHead
Collaboration doesn't just happen. We work at it. One way we do this is by partner work on the computer. After posting writing on the wiki, students partner up. The partner reads the story, essay, or report and provides feedback while reading: celebrate excellent writing, clarify confusing areas, and suggest additions or deletions. The author listens and then revises the work. Finally, the partners edit the writing. Then students switch places so this author reads and comments on the partner's writing.
We follow this process on computers or with writing on paper.
Since feedback is so important to writers, we often play Stars and Wishes. We place our work either on our desks or on the computer. If the writing is on our desks, we also place a blank paper beside it for our peer comments. Next everyone stands up and rotates to the next desk or computer to the right. Each person reads the writing of this person one time through just to enjoy it. Next students read this piece again to add a compliment or two about the writing either on the comment paper on the desk or in the comment area of the wiki or Google Doc. This compliment (star) would be about the writing traits and strategies we are learning or have learned. (Note: these areas are also what partners comment on during their collaboration / peer reviewing ) Next the student reads it through for confusing areas and suggest solutions (wish). After a few minutes of careful reading and commenting, students rotate to the next desk or computer. This repeats three or four times. Students return to their own writing to read the Stars and Wishes to decide how to revise their work according to the readers' suggestions.
During this time, the room is silent. Not because I ask for it, but because the students are enthralled and so engaged in their peer review.
Back to school means crisp new paper and colorful notebooks covered with the names of friends. It means sharp yellow pencils and pink erasers. It means pink, blue, red, green, and purple pens and markers creating hearts, peace signs, and signatures written in vibrant designs.
It also means moving from running and playing, chores and vacation to reading and writing, homework and school. How do we smooth this transition from learning at home to learning at school? Here are two suggestions.
Rules and Procedures
Instead of telling students the "rules," I ask students two questions. They write the answers to these questions on fresh blue strips of paper, one on each side:
1. What do you think I expect of you as students?
2. What do you expect of me as your teacher?
Each day at the beginning of class I read one slip and we discuss those answers. What is expected of students? What is expected of teachers? -- in student words. We clarify expectations in terms of procedures and guidelines.
What does listen look like and sound like?
How and where do we turn in our work?
How does he teacher plan for interesting lessons?
In this way, students learn the expectations for behavior and procedures, and I learn what in particular the students might expect from me.
The next activity provides practice in most classroom activities (individual, small group, whole class, and presentation) to which this first activity can refer as examples during the discussions of rules and procedures. Finally, I type up their answers as a contract for students and myself to sign for reference and review throughout the year.
Rules and Procedures Application
The following tasks provide practice in independent, small group, whole class, presentation, and reflection activities. Throughout each activity, take time to debrief on what worked and what didn’t to complete work and learn together. Apply these discussions to student and teacher responses in the blue slip activity.
Independent Work with whole class instruction
About Us (Student Directions)
Create an index card (or 1/2 sheet of paper) with the following information:
Walk around the room with your index card and share with classmates. When you find an item to which both of you agree, sign your initials by that item on each others’ cards.
Small Group Formation and Work
Return to your area and look at the initials on your card. Look for which initials are most frequently written on your card. Form groups of three based on who has the most in common with you.
In your group, discuss your card and create a Venn Diagram to discover how you are similar to each other member of your group and how you are unique.
Create a team poster with symbols to represent the similar/unique qualities of your group. Organize the pictures/symbols into an artistic poster to represent your similarities and differences. Add a title that fits as a summary or concept for your team and add artistic signatures (see below)* of each member.
Discuss in your group: What does this mean? Why did we choose that title and those symbols? Why is it important to know how we are alike and how we are unique? How do similarities and differences help us?
Prepare to present the information to the class so that everyone in your group speaks to explain your symbols’ connections to what is similar and unique among your group members.
During presentations, students listen. After each presentation, students ask questions relevant to the topic and concept to which the presenters respond.
Results
In a matter of a few days, students have jumped right into learning and thinking together, applying the procedures required to be successful in school without a drill into Here are the Rules. Students have listened, read, written, discussed, shared, collaborated, designed, spoken, presented, and reflected in a fun activity that transports them from summer to school. It’s now October, and students are still looking at and talking about their posters which hang along the locker hallway.
What strategies do you use for Back To School?
*
Sample Artist Signature for Sally Fischer
Can you see "S" and "fish+er" ?
Do you have a need to create a "Thank you" for a special event so that many students participate? Create a Google Apps presentation.
The Process
Choose a template that fits the situation. Create the title slide and a template slide for students to copy when they log in. Show students how to insert a duplicate slide from the template. Students add their information to their slide, or to one with room left on the slide.
Our project involved a thank you for our outdoor learning day.
The Collaboration
Students logged in to the document and added slides to include Who (who presented) and What (what activities and learning occurred) text. The next day, as a class, we chose pictures from our iPhoto library to upload into the presentation and edited our errors. It worked beautifully: we were able to be specific about the value of the day by explaining what we did and learned.
The Presentation
We downloaded and printed the presentation, two slides to a page. Two students from each class brought the beautiful color copy, now spiral bound with their signatures, to the Colville Tribal Council to share their learning. By writing the slides themselves, students clearly stated with confidence the learning and appreciation for our outdoor day. The Council appreciated our “Thank you.”
The Product
Google Docs Presentation allowed us to collaboratively create a careful appreciation for a wonderful day of learning. Does this help you think of other projects for your Google Apps in Education?
How does a teacher with no experience begin blogging with middle school students? Here’s another idea?
Introduction:
First, we reviewed Internet Safety since we already use wikis. (Netsmarz.org is great)
I asked students a question or asked them to respond to a quote. While reading about Martin Luther King, Jr, students chose a quote from his work. Students wrote the quote on an index card and explained why they chose the quote or what they thought about the quote. Then we passed the card to the student on the left, and that student read the card and added a sticky note comment. The note needed to be at least three sentences, refer or quote something from the original text, and be “overly positive.” We handed the card and comment to the left again, and that student read the comment and the card. We continued passing to the left and adding sticky note comments, which could comment on the original text or any of the comments.
As we passed the work along, student comments became longer and better as they read other comments that were better than some who had not followed our protocol and simply wrote, “I agree.” By the time every one had commented on every one else’s card, all students had written at least one good comment.
Discussion:
When the original writer received the card, they chose and shared the comments that helped them think more or caused them to want to add to their original ideas. One student, a very active youngster, proceded to notate every one of his comments by placing a sticky note on the back of each of the sticky notes on his card!
We talked about how each one had added to the conversation, how their positive words (even if they disagreed, but positively) demonstrated their own character as well as their ideas, and how they had become a small community on the topic of MLK.
Application:
Next, we looked at a new site called Tween Tribune (http://tweentribune.com/), a site for students and teachers with kid-friendly news feeds on which to comment or add their own stories. We read comments and critiqued them, noticing some grammatical errors and mostly that some comments did not add to the conversation.
Of course, the students began asking to make their own comments. We completed two comments together to see how to do it — and we decided to use the fantastic “check spelling” aspect every time!
Students have been commenting for two weeks.
Our next goal: write a class news story.
Just a few small steps (Internet Safety, commenting protocol, note-card practice) and we began the blogging journey. Have fun!
Are you writing each day to complete your requirements?
Name: Date: 5 6 7 8
Topic
Audience
Purpose
Genre
Standard
1 Below Standard
2 Approaches Standard
3 Meets Standard
4 Exceeds Standard
Did you plan your prewriting for your audience and purpose? (1.1.1) (2.1.1) (2.2.1)
Are you planning your ideas by organizing your prewriting ideas (number your list, cluster, web, organizer, free-write) (1.1.1)
Did you draft from more than one source/entry using your organized prewriting for your audience and purpose? (1.2.1)(2.1.1) (2.2.1) (3.2.1)
Did you revises your writing, including changing words, sentences, paragraphs, and ideas with your ARMS revision strategies so your writing is clear, concise, organized? (Add, Remove, Move, Substitute) (1.3.1) (3.1.1) (3.1.2) (3.2.2)
Did you write in paragraphs with topic/support sentences that are different lengths and have different beginnings? (1.3.1) (3.2.3)
In your final draft did you edit for errors? (1.4) (3.3)
Did you publish in a form that meets your audience and purpose, includes images or charts to explain your ideas, and looks professional? (1.5.1)
Imagine all the neurons navigating and flying through your mind as you push that pencil across the paper to inscribe your images and ideas. The image of your mind must translate to words flowing to your fingertips of the sketch in your mind to become scribbles of notes or power in prose or poetry.
To help build fluency so ideas can flow fast, develop a routine of Power Writing, based on the work of Peter Elbow. Ten minutes of time daily will enable you to move ideas from mental thoughts to written work. Here's how:
Power Writing
Create a list of at list six words that will serve as topic ideas. You may write on any topic, however.
The basic process is:
Think.
Write.
Count.
Repeat two more times.
Think about the ideas the words suggest or your own topic for twenty seconds.
Write for two minutes (you may want to start with one minute and build to three minutes; we've even written for three five minute sessions). If you get stuck, just write the last word you wrote over and over until an idea pops into your head. Your receive credit for the number of different words you write. Your fluency should improve over time.
After two minutes (or whatever time allotted), stop and count their words, writing the number at the top of the page. Some people keep track of these and take averages.
Repeat --Think. Write. Count-- two more times.
Options:
Share writing with partners.
Circle your favorite.
Edit one section.
Keep a form of each set of three with an average for each set of three.
Ask for show of hands for number of words written (80, 70, 60, etc.).
From where can you easily obtain word lists to use?
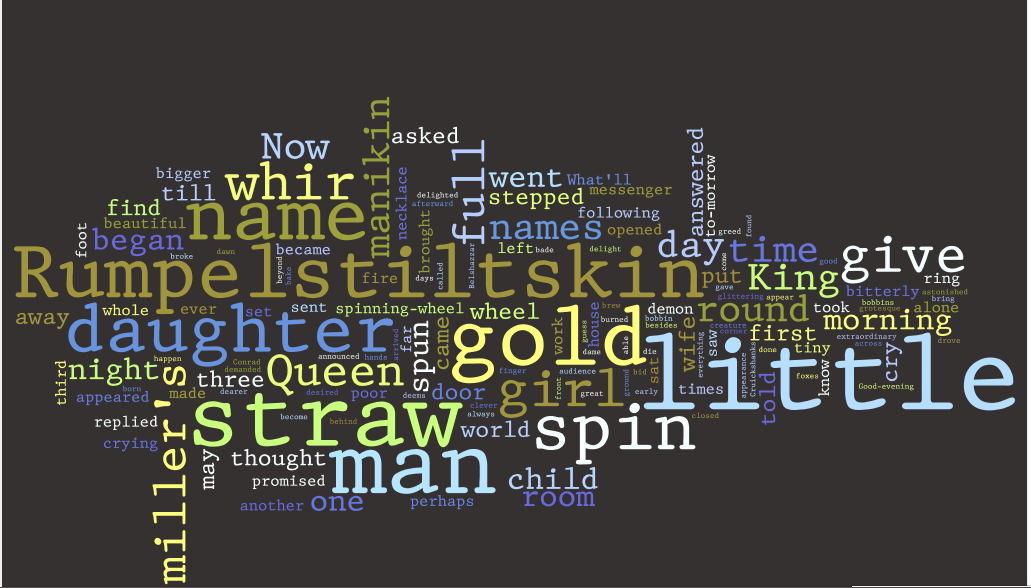
My students love the Wordles I create for our Power Writing (samples here). I google topics on which we are learning. My google searches have included:
kids moose
kids cougar
kids fairy tales
I copy and paste kid texts into Wordle to create a cloud of words on that topic. Often, I simply take a screen shot of the Wordle , but always link to their site as source.
Other content area teachers have commented, "I don't know what you're doing in writing class, but the kids can sure start writing ideas now." So, start Power Writing in your class to help your students move from ideas to words.
Create an artistic impression of youself through art, essay and poetry. Follow these directions for your draft. Then create a "W8 2009 Code" Page to type up your list and begin your drafts and revisions.
Idea Lists
Create lists of at least ten items to finish each of the following:
I like:
I am:
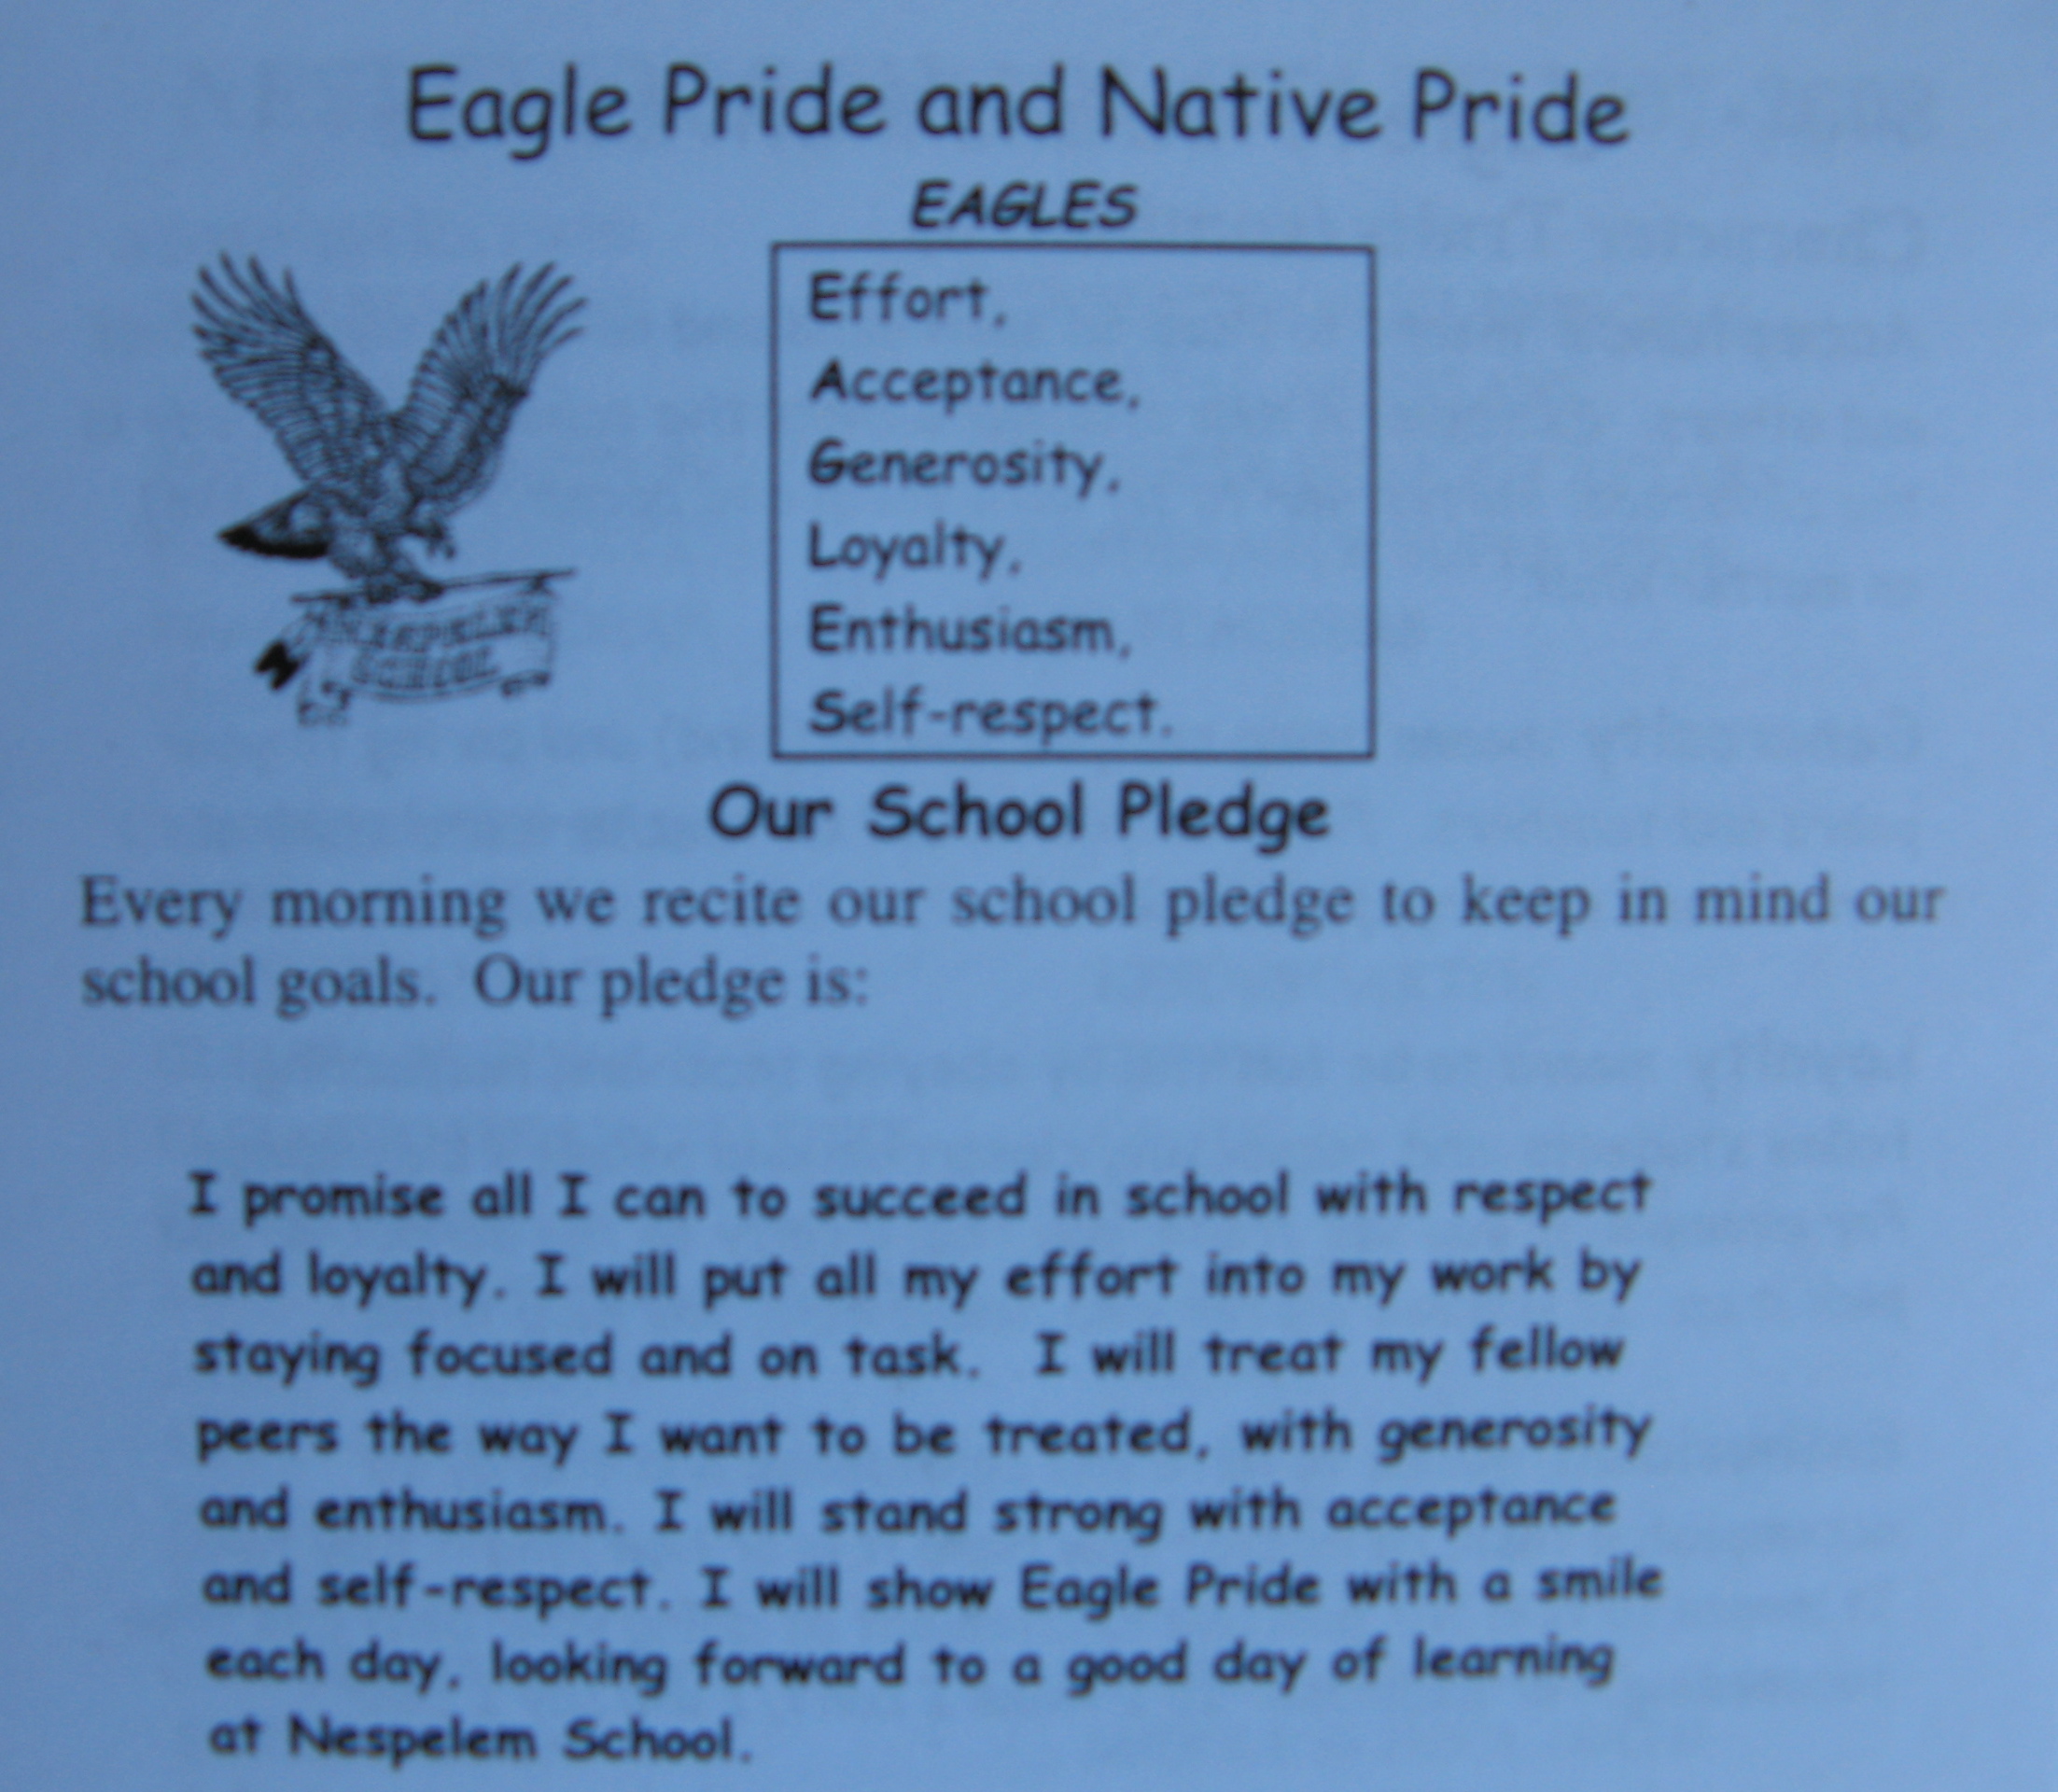
Of the eagle traits, I am __________ because__________ (See bottom of page; choose at least two)
Animals I am like are (at least three):
________ because ______
________ because ______
________ because ______
Ten years into the future, I will:
Image (Square)/Symbol
Read over all your lists. Try to think of images that represent you, your traits, your likes, the animals you associate with, etc. Use those images to create a square symbol that represents you as a whole person. Use large pictures and color.
Example:
Poem
Write a descriptive poem that expresses each of your traits represented in you symbols. Explain each image with examples and each major color as a symbol of one of your traits.
Hints:
Start out with the question: Who am I?
Then describe yourself using your images as examples.
The beginning to the example symbol might be:
Who am I?
I am a cat wrapped in a circle sitting in the sun napping for the afternoon. I show the pleasant and friendly things in life.
I am spicy pepperoni, sizzling in your mouth bursting with flavor like an enthusiastic cheerleader cheering for our team.
I am the blue sky providing sunlight and power, just as I provide kindness and help to my family. I help them like a wolf pack protects and provides foreach other.
I am clickingkeys, tapping my creative thoughts on the screen as I transform ideas into prose or poetry about the laughter of several grandkids chattering over their imaginary and evolving games in the shade of the sycamore in the backyard.
I am floating in the shade on the boat on a hot afternoon reading or ambling with Pooka on the grassy path near the calm lake listening to the sounds of seasonal birds just before gently swinging on the bench swing with grandkids by my side, relaxing after a fun day of togetherness.
Essay
Write an engaging explanation of your symbol using as many of the list ideas as you can. Each list could be a paragraph, ending with your future goals.
Wordle
Copy and paste your lists from your "W8 2009 Code" page into the site at:
to create a Wordle about you. Take a screen shot of it (ask how). We'll add it to your site with proper citation. If you write your name five times in the list, your name will show up largest.
Sample Lists and Wordle:
I like:
floating in the shade on the boat on a hot afternoon reading
ambling with Pooka on the grassy path near the calm lake listening to the sounds of seasonal birds
listening to the laughter of several grandkids chattering over their imaginary and evolving games in the shade of the sycamore in the backyard
hearing the click of keys tapping my creative thoughts on the screen as I transform ideas into prose or poetry
gently swinging on the bench swing with grandkids by my side, relaxing after a fun day of togetherness
transforming images of friends and family into a visual story through digital iMovies
observing the "aha!" of students whose minds marvelously pop with a sudden understanding of a concept
listening to the soft purr of my cat trusting his world to me
melting flavor of dark chocolate slowly dissolving into a silky sliver in my mouth
engaging dialogue on substantial topics with always sensitive and insightful Scott
I am
diligent
creative
focused
serious
productive
pleasant
geeky
inventive
stubborn
thoughtful
EAGLE Traits
I show the EAGLE trait of effort when I write carefully and personally tuned lessons for my students.
I display acceptance when I acknowledge the differing needs and personalities of students.
I live enthusiasm when I stand in front of dull eyes and turn them into sparkles with words and ideas.
I exhibit generosity in spirit when I offer alternative assignments for students.
I demonstrate loyalty by teaching at Nespelem School for twenty-four years.
I model self-respect when I get my work done.
Animals I am like include
cougars for their independent striving for survival
wolf to help my family like a pack protects and provides for each other
cat who likes nothing better than a nap in the sunshine
In the future ten years from now, I will
be volunteering to help in schools with computer projects
Why would we want to create nonwriters? We don't! But with the schools at the edge of both a funding crisis and a technological revolution, these deserve careful consideration.
Ponder the path we're on and start a dialogue on our practice in our schools, in our PLNs, and in our tweets. What would you add?
13 Unlucky Ways:
1. Tell children that writers write at desks first, not on a computer, not on a cellphone, and most certainly not while talking to someone else.
2. Correct all misspellings, including txt; U R 2 wrtie wel and purfekt the phurst time.
3. Squash the txtg. Writing is for learning how to organize thoughts and add more detail. Texting is a waste of thought and time.
4. Absolutely, positively no collaboration with another author, especially online. Children have to find their own voice and figure out how to write well without help. If they work together, how do you know who did the writing?
5. Don't encourage writing with photos. They serve a purpose, obviously. If you allow students to write with photos, how will they learn to write a thesis?
6. Only publish online absolutely perfectly spelled work. We don't want people to think the kids aren't learning what's important.
7. Be sure to separate reading and writing; think of the confusion of mixing the two areas. What would anyone learn by reading a blog and commenting on it?
8. Always write first on paper; writing on paper helps you organize. The computer is for revision and final drafts only.
9. Under no circumstances combine media and language. Use the English classroom for written language only; there's no time or reason to include digital media.
10. English class is for writing. Computer class is for computing.
11. Keep writing in the English class; how can children learn to write if they don't complete exercises every day on paper?
12. All research for writing reports must be done from legitimate sources from the library. Take notes on notecards; you won't always have a computer with you.
13. Follow the English text; never follow the style of other authors, and certainly, don't share your own writing. Just keep the kids guessing.
Help spread the power of poetry -- share ideas on twitter for how to share poems on 4/30 for "A Poem in Your Pocket Day" on April 30th. Label tweets #ppocket
Here's the first idea:
Create your own visual poem on Bubblr; blog or email it to friend for "A Poem in Your Pocket Day" on April 30th:
The Poem:
Spring Barren earth Blossoms in bubbles Of delicate dew For butterfly blessings Mother Earth to you.
Below are the highlights and annotations for what a photo essay is from the Digital Photography School. Refere to these questions after reading the information:
And for the last one hundred years photography and storytelling went hand in hand.
developed by skillful photographers who understand the emotions and concepts behind ever-great story.
The form of such a story is called the photoessay.
A photo essay is very simply a collection of images that are placed in a specific order to tell the progression of events, emotions, and concepts.
the photo essay takes the same story telling techniques as a normal essay, translated into visual images.
Think in terms of: Grabber Beginning; Thesis; Main idea focus; Evidence; Conclusion; End with Action/Thought Just like you learned about written essays -- now you express your ideas through photos with captions. - post by sheri42
Every human being is drawn to stories.
photoessay is a brilliant way to bring your images to life and touch your family, friends, and coworkers.
1. Find a topic
make your topic something in which you find interest.
2. Do your research
spend time
talk with
investigate
check out the theme,
help you in planning out the type of shots you set up for your story.
3. Find the “real story”
determine the angle you want to take your story
What is the angle? Who's voice will you share? What is the most important theme? - post by sheri42
Though each story idea is the same, the main factors of each story create an incredibly unique story.
4. Every dynamic story is built on a set of core values and emotions that touch the heart of its audience. Anger. Joy. Fear. Hurt. Excitement. The best way you can connect your photoessay with its audience is to draw out the emotions within the story and utilize them in your shots. This does not mean that you manipulate your audience’s emotions. You merely use emotion as a connecting point.
What emotions did you find in your research and theme? How will the audience understand? How will your words and pictures explain your topic, emotions, and voice? - post by sheri42
5.Plan your shots: Whether you decide to sit down and extensively visualize each shot of the story, or simply walk through the venue in your mind, you will want to think about the type of shots that will work best to tell your story. I recommend beginners first start out by creating a “shot list” for the story. Each shot will work like a sentence in a one-paragraph story. Typically, you can start with 10 shots. Each shot must emphasize a different concept or emotion that can be woven together with the other images for the final draft of the story.
Use a story board. Plan your shots and your text. Arrange them for powerful impact, just as if you are writing an essay -- what will explain or persuade? What order is best? What words will pack the punch that persuades or provides the facts for people to act or understand? - post by sheri42
Remember that story telling takes practice.
All you need is a bit of photographic technique, some creativity, and a lot of heart. And once you begin taking pictures in stories, your images will never be the same.
You are on your way to a journey of visual understanding and sharing that will help you understand the world as well as share the world. Learn and enjoy. - post by sheri42
Do you have research to do? A question to answer? Information to share? Here's the tool for highlighting, annotating, and sharing that important information.
Writers need information, background knowledge, and quotes to add depth and detail to their work. Diigo makes that task of organizing, notating, annotating, and sharing that information so much easier.
Diigo is web-browser enabled tool that allows users to highlight, annotate, and share information from the web.
Notice the yellow highlights and the pink highlights with an annotation.
Once you have bookmarked through Diigo your page, you can retrieve the link to the page, all your highlights, and all your annotations:
Here is the Diigo site of group bookmarks with annotations (green box) and comments (orange box) expanded.
These can be extracted and placed in a document (wiki, word process document, etc.) to analyze to draw one's own conclusions for research reports or other research needs.
This is a fantastic and collaborative research tool. The eighth grade students are conducting independent research from which their notes and annotations become resources for their draft conclusions for their thesis focus.
The fifth grade students are learning about Memphis, Tennessee from essays written by their Presbyterian Day School friends and placed on Mapskip. Students will write an itinerary for the choices they would recommend based on their notes and annotations on the work of our friends.
For a more complete How to Diigo, click here and here.
I chose the picture to honor President Abraham Lincoln's 200th birthday this year. I chose the words from a list provided for me. I chose those words because Lincoln knew we needed to stay together as a Union -- united together. He remembered the dreams we all have, and worked to keep the dream of America and us alive. Will we?
How to create your own poetry pictures?
1. Go to PicLit 2. Choose a picture. 3. Connect to it with your ideas and experience. 4. Read the words in the list provided. Develop in your mind a message that expresses your ideas. 5. Choose the words that express your connection to the image. Be short and concise -- the picture should dominate, and the words should draw out a theme from the image. 6. Save, email, blog, etc. 7. You can also take a screenshot, but be sure you credit PicLit.
Poetry in Pictures, a fun way to learn to be concise and exact.